
I finished mapping the sunlight for this year’s side steps planting project a few weeks ago, and today I prepped the beds.
Sunlight Mapping
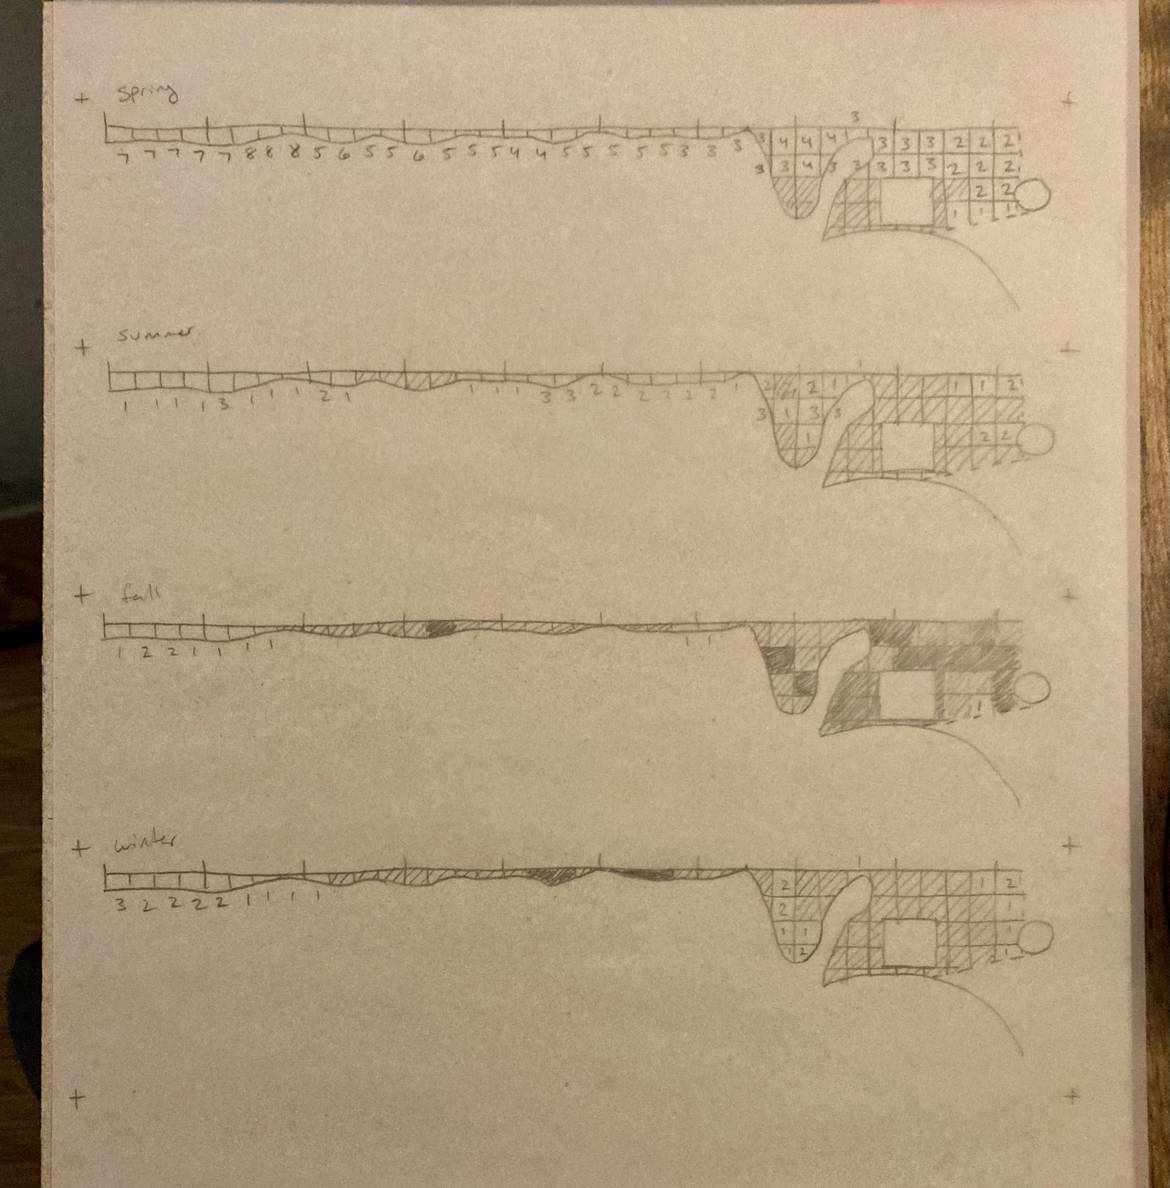
In preparation of selecting plants for this year’s planting project, I mapped the sunlight for each season. Last summer I mapped out the space and in the middle of each season I mapped a day’s worth of sunlight by the hour.
I made a tracing of my map for each hour and put a white flag in each square foot of the planting area. Then, in the middle of each season, on the hour for a single clear-skied day, I mapped the sunlight. Every square with a flag in the sun got left empty. Every square with a flag in the shade got shaded in. Once I had a day’s worth of data, I notated on an additional map copy the consecutive hours of sunlight each square foot received. Squares that never saw sun were shaded, and squares that saw sun but never for consecutive hours got diagonally hatched.
Surprisingly, the thin strip along the fence received seven to eight hours of sun in the spring, but only none to three hours the rest of the year. Spring hits at a unique time when the sun is high enough to get shine over the house, but one of our oak trees hasn’t fully leafed out yet. The rest of the space is predictably deep to partial shade.
Bed Preparation
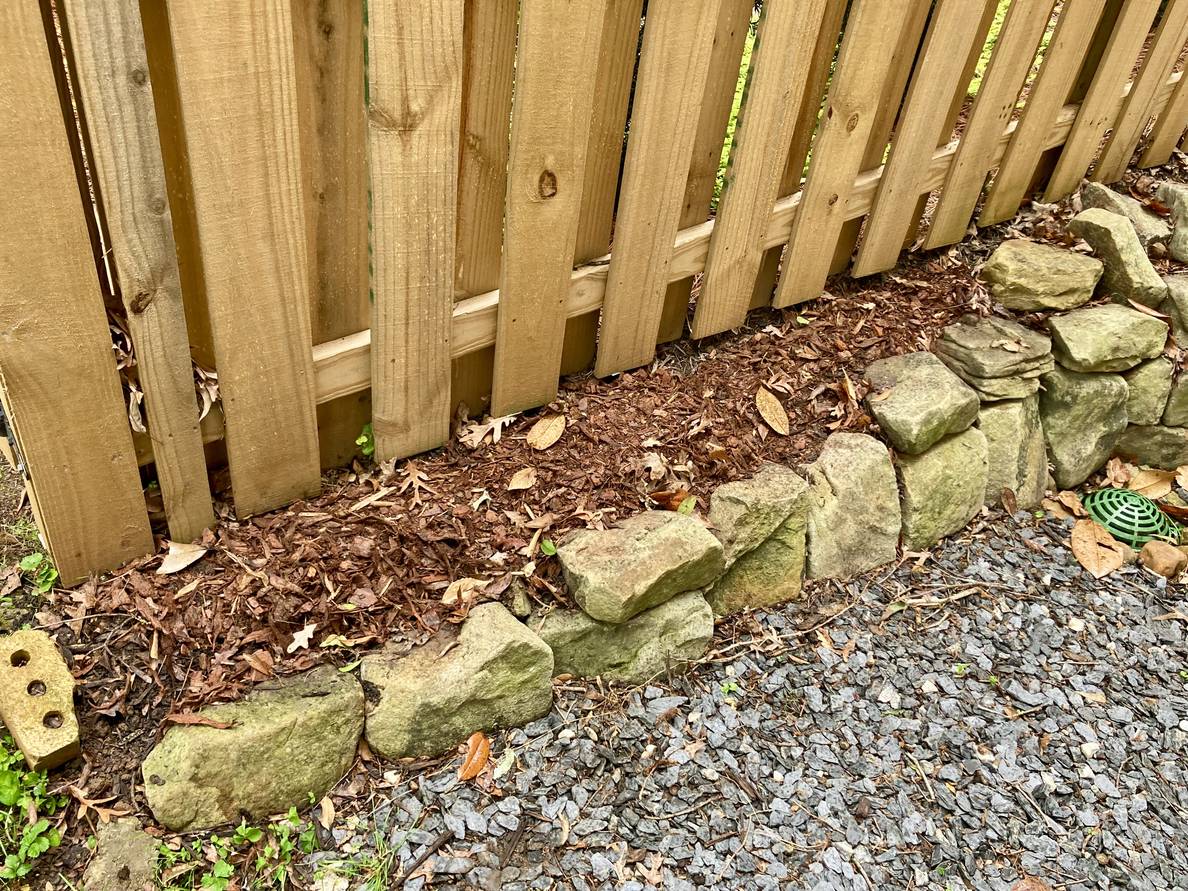
Today I got the beds prepped for fall planting. I used a shovel, hoe, and hand cultivator to turn over the first few inches of soil, then I added a good amount of Cowart Soil Conditioner. Our property is most like an Oak-Pine-Hickory Forest, so I’m trying to encourage the same kind of organic-matter-rich soil that would occur naturally over time.
Crucially, I mounded the amended soil. We’re a year into last year’s planting, and they’re having a hard time contending with the sheer volume of leaf litter produced by our trees. I hope the mounds help prevent the plants from getting smothered by leaves.
Finally I added a good few inches of mulch. I hope these next few months of decomposition help the soil become even better when it comes time to plant.
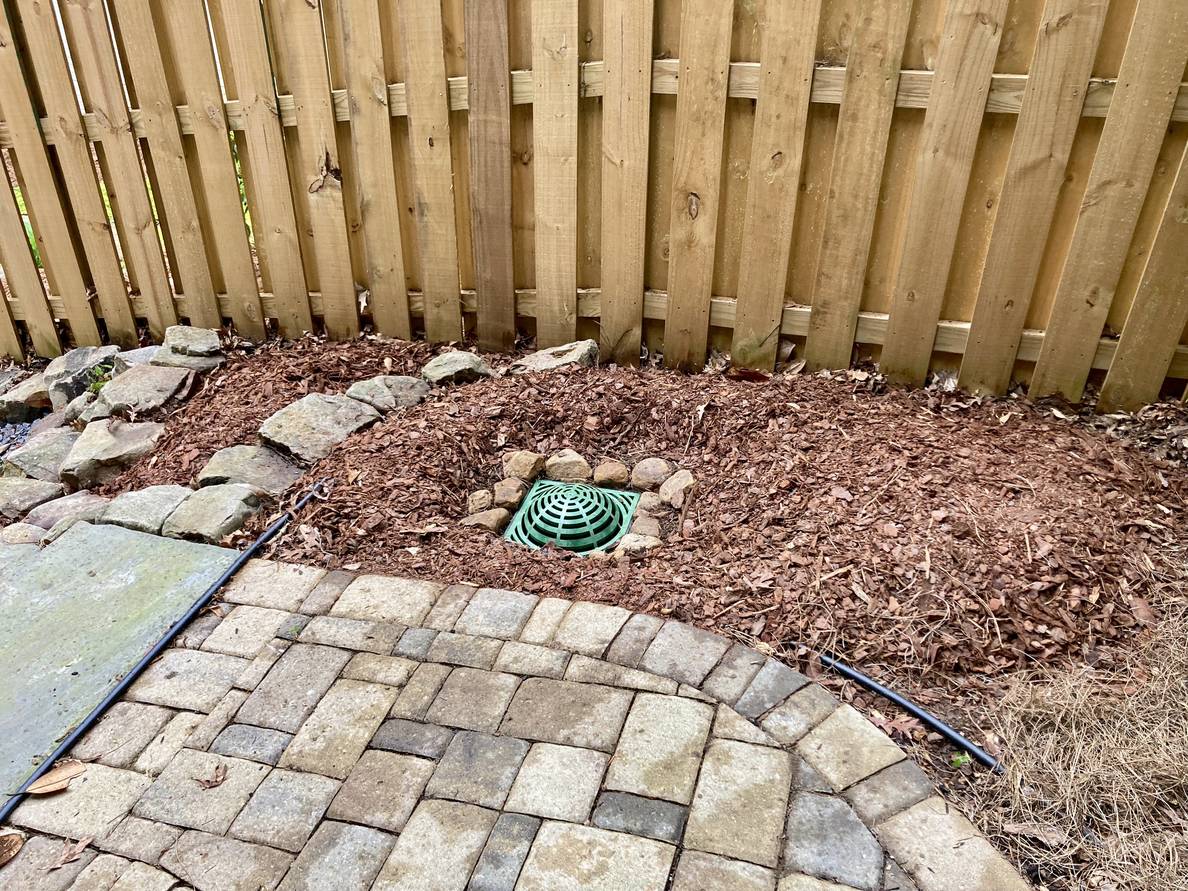
I also went ahead and swapped the two catch basin grates with atrium grates. The flat ones were just collecting leaves. That’s not a big problem at the top of the steps. That catch basin is mostly a pass-through for the pipes carrying gutter water around the back of the house. But the catch basin at the bottom of the steps also collects surface runoff and needs to stay clear.
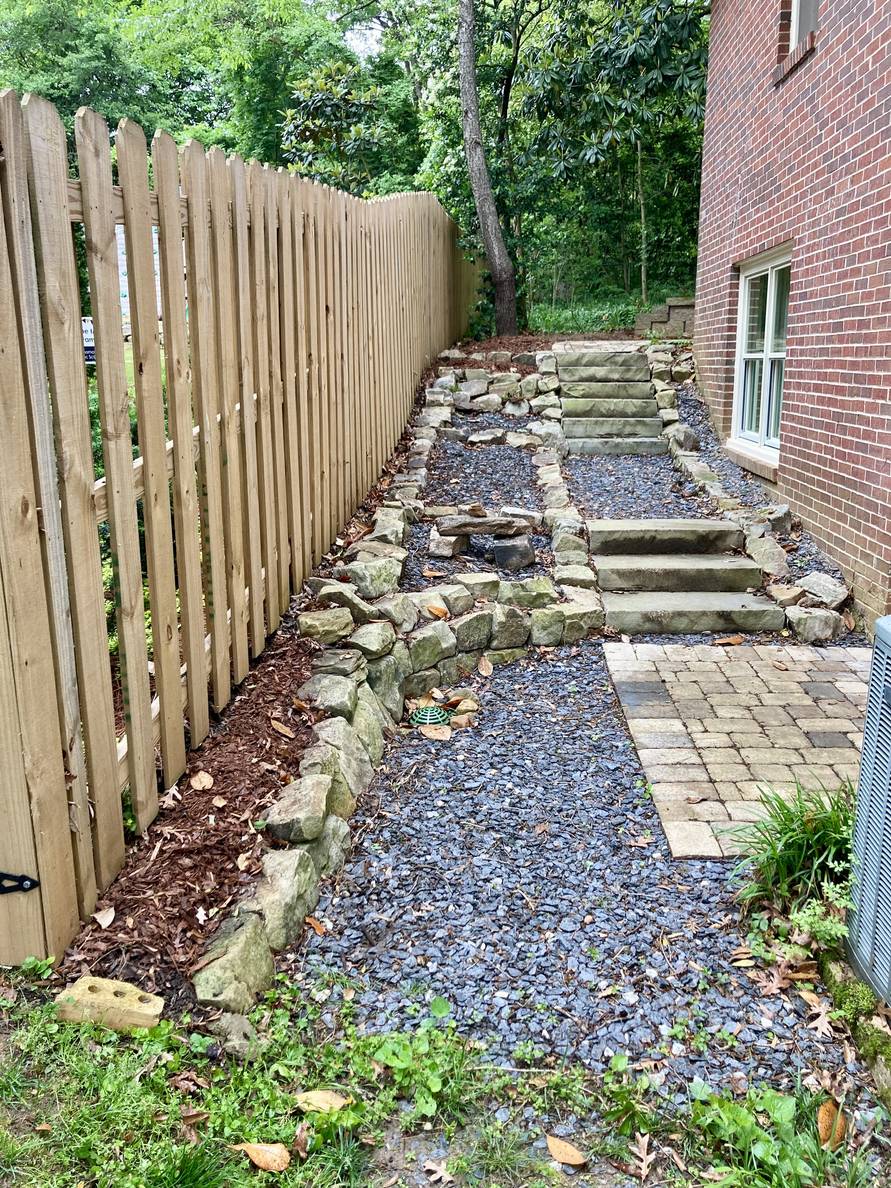
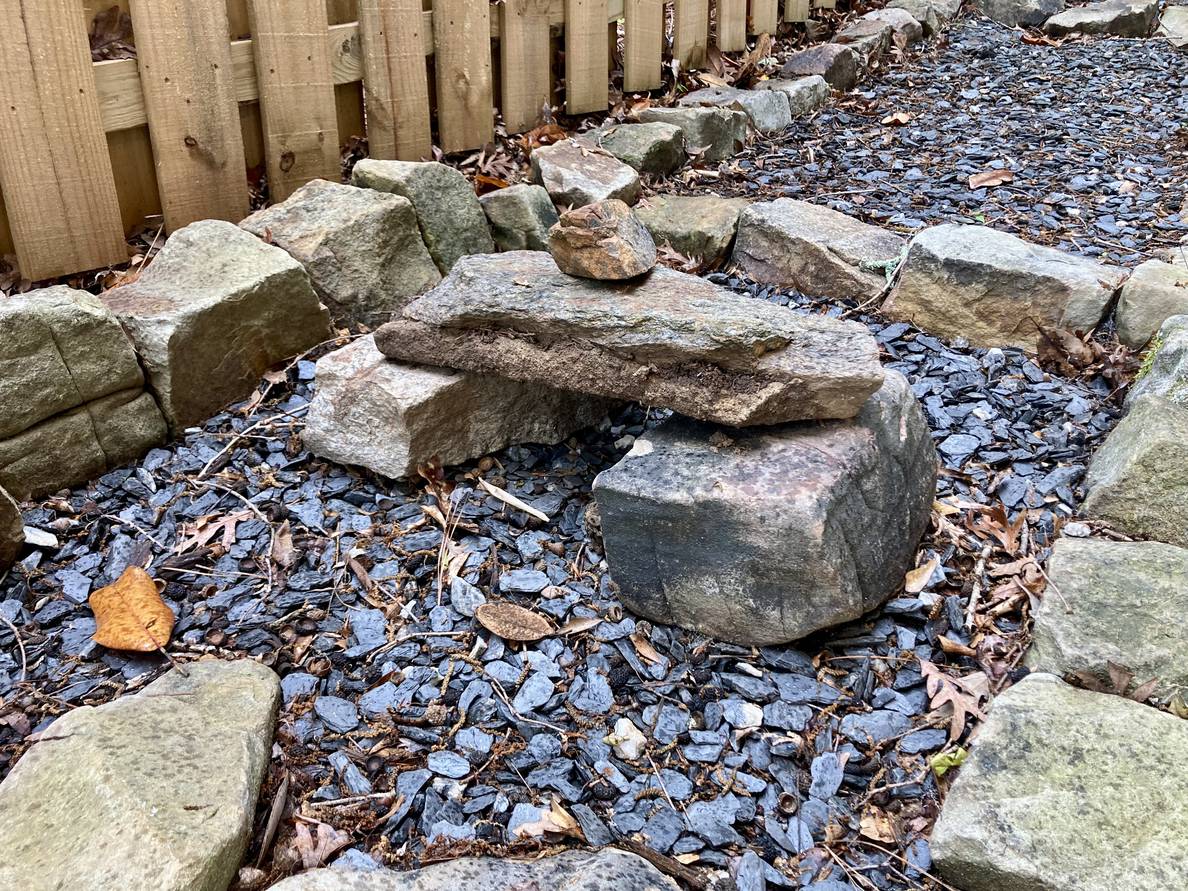
Several weeks ago I built a Bates cairn as bit of sculptural interest along the steps. I had this in mind as an option, as Megan and I visited Acadia National Park in 2023 where Bates cairns are used to mark the trail. I happened upon a rock that would be perfect for one of the base rocks and went ahead and found additional rocks and built the cairn.
The only other thing to do between now and planting time is to test the drip irrigation for leaks and either fix or replace as needed.